
When I have been making my blog buttons I have been over complicating things. To take Bob’s head from a photograph I would use photoshop elements, create a background copy, delete the original background, zoom in so that I could see each pixel and slowly draw around her head with the eraser to remove the background from the photograph. It used to take hours! I had tried the magnetic lasso but I could never get it to work. I knew there must be another way!
I spoke to my fabulous friend Emily and she knew there must be an easier way too. After a bit of trial and error she figured it out. She’s a superstar! I can now easily remove the background from a photograph so I thought that I’d share the secret with you.
* Whilst putting this post together I also learnt how to capture a screenshot! Just press command, shift and 3 keys together. I use a Mac, I don’t know if this would be the same on a different laptop.
Removing The Background From A Photograph
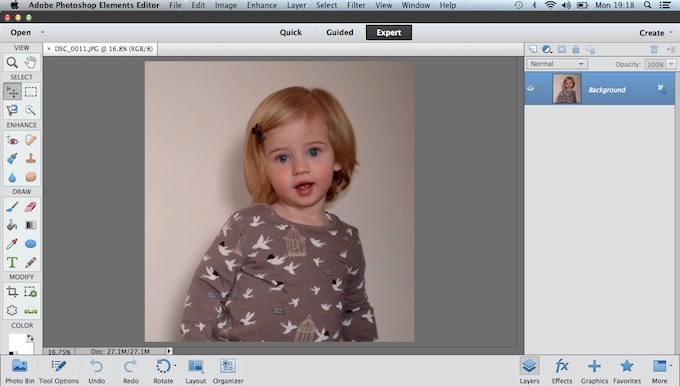
1) Open the photograph that you would like to use in photoshop elements. A photograph with a plain background will work best.
2) Select the eraser and then choose the background eraser.
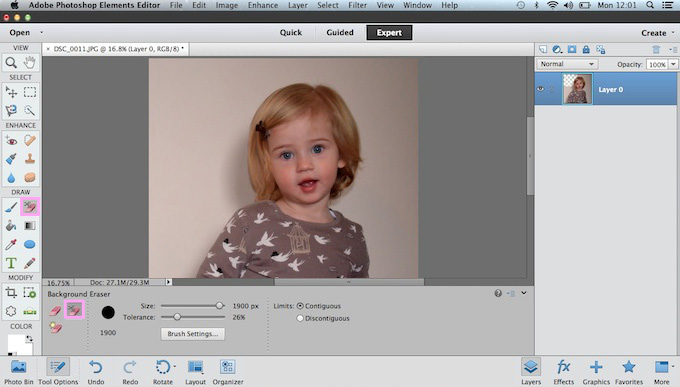
3) Alter the tolerance to about 26. It will vary slightly depending on the colour of your original background.
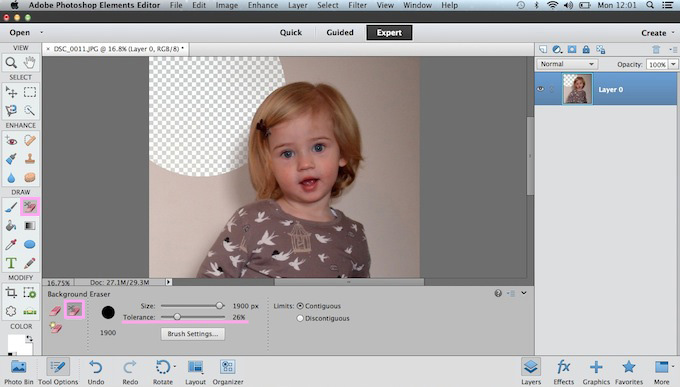
4) Using a large eraser click around your child/object. You can cover them with the eraser and it will only erase the background! Magic!
* Cluttered backgrounds and shadows may cause difficulty. Bob was casting a shadow on the wall behind her and the background eraser confused this as a part of her. I solved some of this problem by increasing the tolerance but eventually the eraser deleted Bob too. I then had to return to an actual eraser and work carefully but I only had to apply this method to a tiny part of the image which didn’t take long.
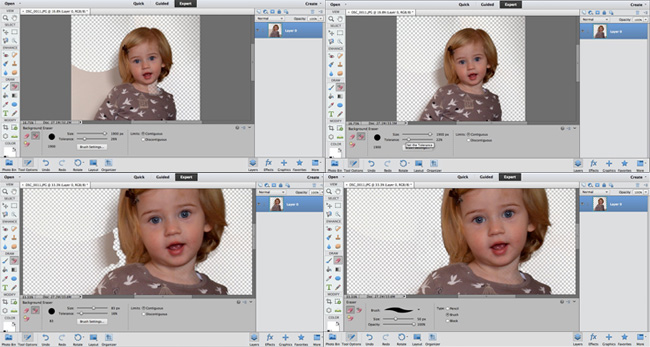
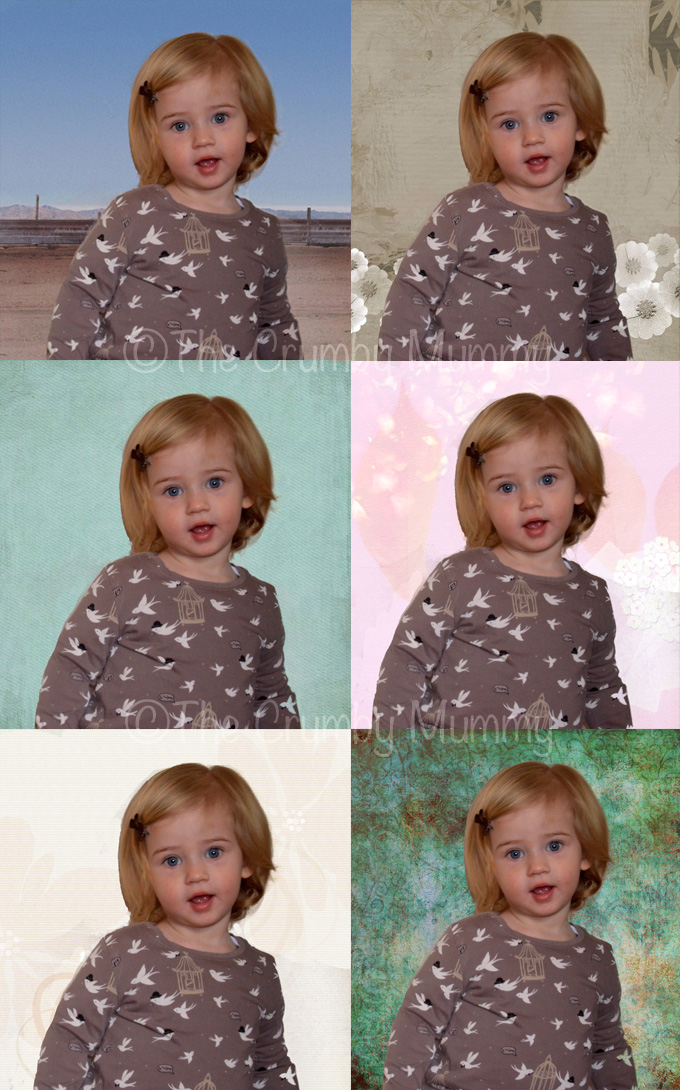
Once the background is removed your child can go anywhere! I used the backgrounds that are available with photoshop elements for this post but, as you can see, the opportunities are endless!
My Fun Photo Favourite from last week was a gorgeous collage from Tabitha over at Fresh Mommy Blog. The collage is too big to show here, you’ll have to visit her blog to see the whole thing. Below is my favourite photo from it.
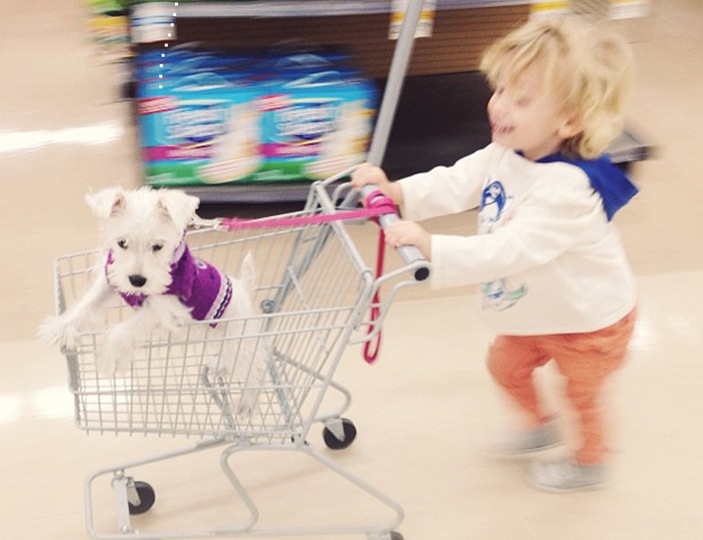
As a reward Tabitha can laugh at the thought of me running around various supermarkets, with a trolley full of dachshunds, trying to take a photograph. She can also display the Fun Photo Favourite badge if she wishes.

* I have now made the Fun Photo Favourite badge specific to the post where your photo was chosen. If you have already added the badge and would like it to link to the post where you were chosen as my Fun Photo Favourite e mail me at charlotte@thecrumbymummy.co.uk and I will send you a code.
If you have been having fun with photography, editing or you’ve photographed something fun, please link up below. Make sure that you link up the post, rather than your home page as I struggle to find some of your posts when I am choosing a Fun Photo favourite. If you would like to grab my badge or add a text link it would be much appreciated. Also, if you would like to tweet me your links I would be happy to RT them. Don’t forget to choose your favourite using the like buttons beneath each image. This will help me to choose my Fun Photo Favourite.

*By taking part in this linky you are giving me permission to show your photo next week, if it is chosen as my Fun Photo Favourite. I will, of course, link back to your blog.
Linking up with some other Lovely Linkys.
If you like my blog and have a few spare minutes I would really appreciate a nomination in the BIB awards. I think that my blog would be most suited to the Fresh Voice or the Video award but a nomination in any category would be wonderful!


I loved this! Thanks for explaining how. “Bob” is getting cuter as she gets older.
Thanks for linking on my Picture Perfect Party Linky! I hope you link again at
http://abooksandmore.blogspot.com/2013/03/picture-perfect-party-linky-32.html
Great tutorial! Thanks for sharing!
What a great tip! I would love if you linked it up with Inspired Tuesday: http://notsouglyducklings.blogspot.dk/2013/03/inspired-tuesday-march-19th.html
I am so going to pick your brain! I am off to buy a new laptop in the next week or so and I am going to buy some photo editing software but dont know where to start! HELP! lol x
Just ask. Anytime! x
Thanks. I use a different method, but I will try this one next time.
I really like the 1st and last one best!
Great idea with the backgrounds! Looks like fun!
Cool trick! Glad you found an easier way 🙂
That’s much easier than the way I do it (you know, the old way you used to do it…heh!) Bob is getting more adorable by the day! 🙂
Psycho Mother Nature
Charlotte…you are a great hostess. Every week you come look at my blog and always leave a sweet comment…it is truely appreciated! Happy Hump day to you.
…and you are a great linker! Every week you put a lovely link to my blog on yours! Thank you!
I like to visit everyone that links up to see their lovely posts and say thank you. x x x
I haven’t ever photoshopped anything but it looks like it could be a lot of fun!
Thanks for sharing this, I have never used photoshop but will give it a go now 🙂 Bob is growing up so quickly 🙂 x
That’s a fantastic tutorial! You make me want to get Photoshop installed now 🙂
Photoshop Elements does everything I need and it’s much cheaper! x