
Christmas is almost here! If you are anything like me you have probably forgotten to send your Christmas cards! What’s worse is I have spent all my spare cash on presents for my nieces and nephew. Getting creative and making a mess might be the last thing on your mind this season but it’s a nice, cheap and cheerful way to wish your loved ones happy Christmas and keep the wee ones occupied for a few hours!
I have created a step by step guide for creating lovely, child friendly Christmas cards and all you will need is the following:
• Scissors (Mum’s and dad’s – make sure you do this bit or supervise the cutting)
• Glue stick
• Glitter pens
• Colouring pens or pencils
• A4 Coloured card (you could use an old cereal box if you wanted)
• A bin for the rubbish and a flat work surface.
• Wrapping paper and little tinsel for the particularly festive families!
• A ruler
Step one. Folding the card
This step is as simple as it sounds; hold the card in the landscape position bend the card in half. If you’re particular about this part mums and dads then ask the kids to hang fire while you fold it perfectly (If not maybe a little demo of how to fold it neatly is a good call.)
A particularly useful little trick is to use a ruler and score a line down the centre of the card with something that won’t mark or tear the card. I have found that pen lids or coins work quite well.
Step two: Background
Now you have the basic shape of your card, which should stand on its own you can start making it look festive and pretty. This is great for the kid’s imagination; let them come up with some ideas as to how they would like their cards to look.
You need a background for the card, you could use wrapping paper, a family photo anything you like. Cut your background to size, again parents you may want to take the lead on this step.
Step three: Get Sticky!
Glue your background onto the folded card and wait for it to dry. I strongly recommend using a glue stick and not PVA or particularly wet glue as it takes longer and gives a lumpy texture to the card.
Step four: Colour me in!
You can either use the stencils included in the post or get a little more out there and find your own stencils/clip art and print those out.
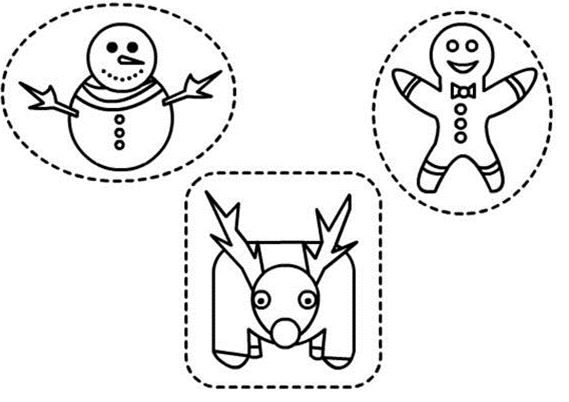
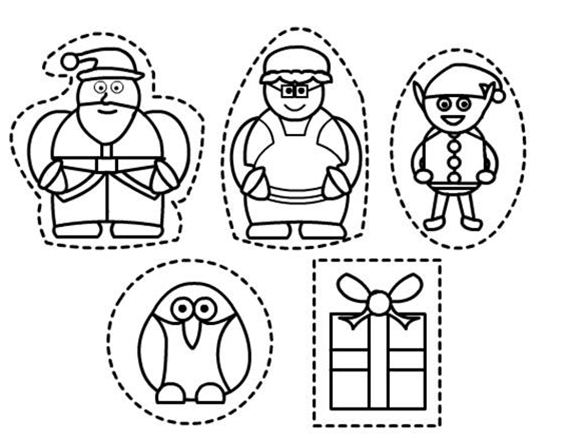
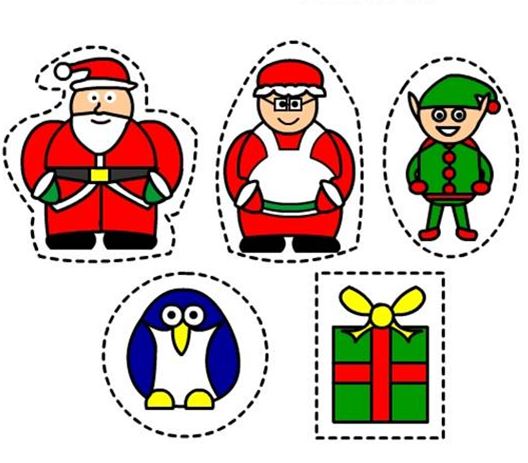
Once you have printed your stencils to the size you would like get colouring. This is the best part for the kids and I am sure they will enjoy colouring Rudolph’s nose red just as much as I did!
Step five: Cut out and stick on
Once you are happy with the professional paint job your kids have managed to muster on the stencils, cut them out and glue them onto the (hopefully dry) card.
Step six: Leave to dry
Allow the stencils you have stuck to the background to dry. Pop the kettle on, sneak a cheeky mince pie with the kids and put your feet up for ten minutes.
Step Seven: Merry Christmas!
Once the card is dry open it up, write your Christmas wishes and add a few sparkly finishing touches with the glitter pens. If you’re feeling particularly festive maybe even a little tinsel boarder!

There you have it, a simple solution to spending some quality time with the little ones and not spending a fortune on cards for teachers, grandparents, friends and everyone else.
Merry Christmas everyone and all the best for 2013!
Author Bio: Written by Leslie Harding or Auntie Lou-Lou as she is more commonly known to her nieces and nephew, on behalf of Vistaprint UK.